Taking photos with your iPhone is just the first step in the photography process. Editing your images is where the fun really begins! This can be a daunting task for beginners. Which apps should you use, and where do you start once you’ve downloaded them? But there’s actually much more to consider than just apps. If you’re keen to discover the fascinating possibilities of editing your images, this tutorial will provide you with an insightful overview of all aspects of the editing process to help you plan and execute your iPhone photo editing like a pro.
The beauty of taking photos with your iPhone is that you can edit them immediately on the same device, which is incredibly handy. The temptation for beginners is to download every editing app they can get their hands on and use every one of them on every photo. Trust me… this doesn’t end well!
There’s actually much more to think about than downloading apps. While we’ll talk about and suggest some apps that you might want to use, this tutorial is about getting you to think about all aspects of iPhone photo editing, from taking the photo through to backing up your masterpieces.
In this tutorial we’ll discuss some of the most important things you should consider before, during and after the iPhone photo editing process.
1. Concentrate On Taking Good Photos First
No amount of editing will turn a bad photo into a good one. I would always recommend that anyone starting out with iPhone photography should concentrate on taking good photos before they get too involved with post-processing.

It’s important to develop your photographic eye so that you have good photos to edit. Learn about composition , light , color  and exposure . Take as many photos as you can, and experiment with different subjects, locations and creative ideas.

Of course, you can still explore editing apps while you’re working on improving your photography, but you’ll quickly see that as your photography improves, you’ll get better results when you edit your photos.
2. Plan Your Editing
Ideally you should try to have an idea of what the final edit should look like before you start working on your image, and then find the apps that you’ll need to achieve your vision.
Do you need to adjust the exposure or color? Does the image need to be cropped? Would it look good in black and white ? Are there any distracting elements you want to remove from the image? Could it be improved by adding a texture or painterly effect? Would a dark vignette help to focus attention on the central elements of the image?
Look carefully at the original photo. Ask yourself what could be done to improve and enhance it. Then find and use the best apps that will allow you to perform these edits.
If you just start trying random apps hoping that something will work, you’ll probably waste a lot of time and end up with a messy photo. Worse still you won’t know when to stop. The temptation to try one more app will always be there. If you start with a definite goal in mind this won’t be an issue.
When I first started out with iPhone photography, I had a tendency to just keep applying random filters and effects to photos in the hope that something would work. Every now and then I would get lucky and end up with a passable image, but when I look back now I realize a bit of thought and planning would have gone a long way.
3. Find A Good All-Round Editing App
The App Store is a wonderful resource. There are literally thousands of photo editing apps available, and many of them are free to download. The problem is that most of them are either “one trick ponies†or just not that good. The mistake that a lot of beginners make is to download hundreds of apps, and then get totally confused about which ones to use.
It’s much better to just stick to a handful of good apps. You should aim to have at least one all-round in-depth photo editing app in your collection. This will be used for the majority of your editing needs as it will have everything from preset filters to specialist editing tools.
My two go-to apps are Snapseed (free to download) and PhotoToaster ($2.99). Check out our articles on the new Snapseed update and how to enhance your images using PhotoToaster . [1] [2]
Snapseed and PhotoToaster are very powerful editors and each has its own unique tools. You can’t really go wrong with these as your first two editing apps. They’re both very easy to use and have features that are particularly suited to beginners.
There are other great apps available for general photo editing, such as VSCO Cam (free) [3] , Photoshop Express (free) [4] , Camera+ ($2.99) [5] , Enlight ($3.99) [6] and Filterstorm Neue ($3.99) [7] . Check out their descriptions and reviews on the App Store to get an idea of which one would be right for you.
You should always try to ensure that any apps you’re going to use for serious editing will save your masterpieces at full resolution. I do have a few “guilty pleasure†apps that save at a lower resolution but produce some nice results, however, images from these apps are only useful for sharing on social media due to the lower image quality.
4. Use A Handful Of Specialized Apps
As you start to discover your own editing style, you can start looking for more specialized apps that compliment that style. As I said, there are thousands of options out there and the choices can be overwhelming.
That’s where iPhone Photography School can prove to be an invaluable resource. Our site is constantly being updated with tutorials , new app reviews , and interviews with iPhone photographers who are only too happy to offer their app recommendations.
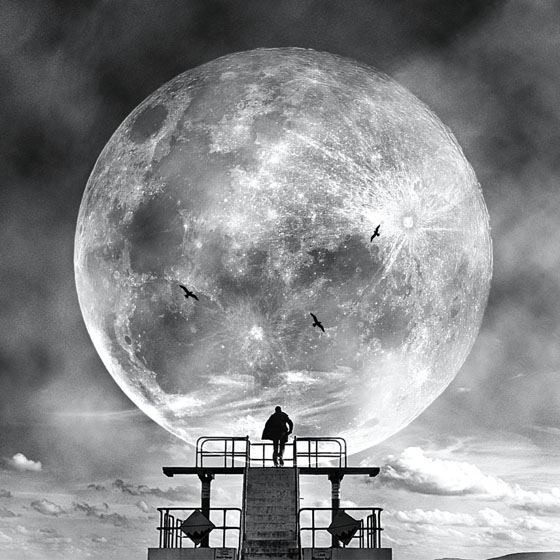
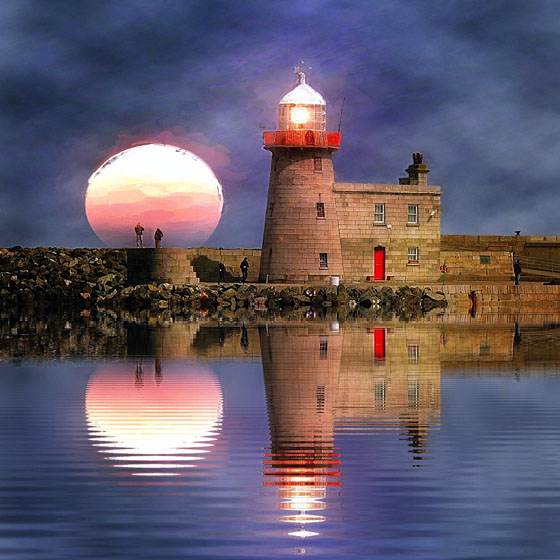
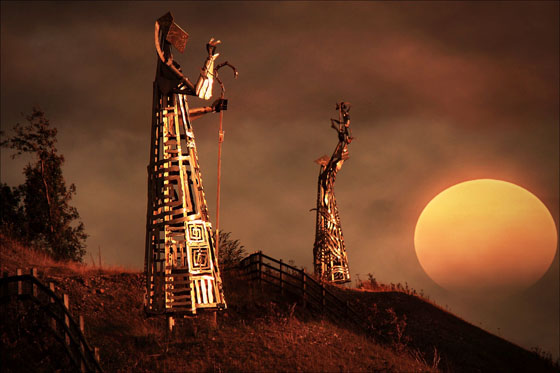
Personally, I like to go for a slightly surreal or over the top look in my photos so I use apps like Lenslight ($2.99) [8] , Alien Sky ($2.99) [9] , Juxtaposer ($2.99) [10] , Distressed FX ($0.99) [11] Â and Mextures ($1.99) [12] to add lighting effects, textures and other special effects elements to my images.
HandyPhoto ($2.99) [13] Â and TouchRetouch ($1.99) [14] are very powerful retouching tools for removing unwanted objects and distractions from your iPhone photos .
If you encounter perspective problems when photographing buildings or other tall subjects, SKRWT ($1.99) [15] is a great app for straightening up the lines in your image .
If you like to get more creative with your editing there are some great apps for creating painterly style images , abstract art and applying distressed textures to your iPhone photos .
5. Develop An Ordered Workflow
When you first start using editing apps, the tendency will be to use whatever apps come to mind and in the order that you think of them. This can result in a very disjointed style, and if you do end up with an edit that you like it will be difficult for you to remember the steps involved.
Once you’ve found the apps that work for you, you should start to think about the workflow or the order in which you use these apps. For example, first correct exposure, then crop and straighten if necessary, remove any distracting objects, convert to black and white, then apply a vignette.
It you use the same apps in the same order each time you edit a photo, you’ll end up with a more uniform look to your photos and a more identifiable style. I will recognize the work of some of the better iPhone photographers out there before I even see their names â€" this is because they have such a unique editing style.
6. Avoid Overusing Filters
A lot of the more basic photo editing apps will just offer a selection of filters with very little control over them. If you use these types of apps a lot you’ll just end up with photos that have the same look and feel as every other photos out there that have been edited with those apps.
It’s far better to use apps with customizable filters (such as Snapseed, PhotoToaster, Camera+ and VSCO Cam) that allow you to adjust their intensity, and even combine several different filters together.
Whenever you apply a filter, always try dialing back the intensity until you find the perfect setting for that image. Applying filters at too high a strength can often ruin a photo.
Try to use apps that offer both filters and other editing tools that allow you to fine tune the image with adjustments for color, exposure, sharpness, etc. This will help you to create a more unique style that’s personal to you, and that fits the photo you’re editing.
7. Edit Your DSLR Photos On The iPhone
Although this site is primarily concerned with iPhone photography and post-processing using apps, it’s worth remembering that your iOS device (iPhone or iPad) can also be used to edit photos taken on other cameras , even digital SLRs.

The reasons you might consider this are that photo editing apps are normally substantially cheaper that suites of editing software for your computer, and you’re most likely familiar with a range of photo editing apps that you enjoy using on your iPhone.
Also, many people prefer editing on a touchscreen as it’s a far more tactile and involving process. If you decide to edit your digital camera photos on your iPhone or iPad, always try to ensure that you’re using apps that save at full resolution to preserve the high quality of your images.
8. Back Up & Catalogue Your Edits
Editing your photos creates a lot more images in your camera roll, especially if you make several different edits of the same image. Before you know it, you have a phone full of images and no system in place to find a photo you might want to locate. Plus, if you lose your iPhone, you’ll lose all your photos if you don’t have them backed up.

The earlier you put a backup and cataloguing structure in place the better. You can back up your images to a physical computer drive or use cloud storage, or ideally both. I primarily use external hard drives for my backups. I transfer my images to folders based on the month and year they were taken.
As a secondary backup I use Flickr [16] which allows me to store my images online. I only ever upload final edited images to Flickr, and I’ve created albums on the site based on the location or event at which the photos were taken.

I find this very useful if somebody contacts me regarding photos from a particular location or event as I can send them a link to the Flickr album containing the photos. One thing to bear in mind here is to make sure that you don’t allow third parties to access the full resolution images on the site. This can be done in the Flickr settings.
There are many other online cloud storage options such as iCloud, Dropbox and Google Drive. You can read more about these options in our backup and storage tutorial .
Conclusion
There’s no doubt that editing photos with the iPhone can greatly improve your images, but you need to ensure that you’re starting off with a good photo in terms of subject matter, light, exposure and composition. So try to get these things right at the time of shooting. That way you have much more chance of creating an amazing edit.
Photo editing can be great fun, and with the vast amount of apps available there’s huge scope for you to show off your more creative side and to stamp your own look on your photos.
Try to find a handful of high quality and powerful editing apps that you feel comfortable with and allow you to develop your own style. And don’t forget to back up those masterpieces once you’re done!
If you also want to take great photos with your iPhone, please join 21,574 subscribers who receive our free iPhone photography email tips [17] that you won’t find anywhere on this blog.
12
MAY
Links
- ^ Snapseed (free to download) (itunes.apple.com)
- ^ PhotoToaster ($2.99) (itunes.apple.com)
- ^ VSCO Cam (free) (itunes.apple.com)
^ Photoshop Express (free) (itunes.apple.com) - ^ Camera+ ($2.99) (itunes.apple.com)
- ^ Enlight ($3.99) (itunes.apple.com)
- ^ Filterstorm Neue ($3.99) (itunes.apple.com)
- ^ Lenslight ($2.99) (itunes.apple.com)
- ^ Alien Sky ($2.99) (itunes.apple.com)
- ^ Juxtaposer ($2.99) (itunes.apple.com)
- ^ Distressed FX ($0.99) (itunes.apple.com)
- ^ Mextures ($1.99) (itunes.apple.com)
- ^ HandyPhoto ($2.99) (itunes.apple.com)
- ^ TouchRetouch ($1.99) (itunes.apple.com)
- ^ SKRWT ($1.99) (itunes.apple.com)
- ^ Flickr (itunes.apple.com)
- ^ free iPhone photography email tips (my.leadpages.net)
No comments:
Post a Comment